
The 4th grade will be learning about the solar system so I decided to incorporate it into our artwork this month. The artistic concept that we are focusing on in this project is creating a 3 dimensional sphere on a flat surface, using a highlight and shadow. The outer space scene that they created could be realistic or imaginary. Some students wanted to make the planets in our solar system, while others simply wanted to experiment with different colors.
Outer Space Scene
Materials: watercolor paper, black & blue liquid water color, salt, drawing paper, circle templates, pencils, chalk pastels, oil pastels, compass, glue stick, scissors.
Concept/Skills Covered
I can use a variety of art tools and materials.
I can create a 3 dimensional sphere on a 2 dimensional surface, using a highlight and shadow.
Concept/Skills Covered
I can use a variety of art tools and materials.
I can create a 3 dimensional sphere on a 2 dimensional surface, using a highlight and shadow.
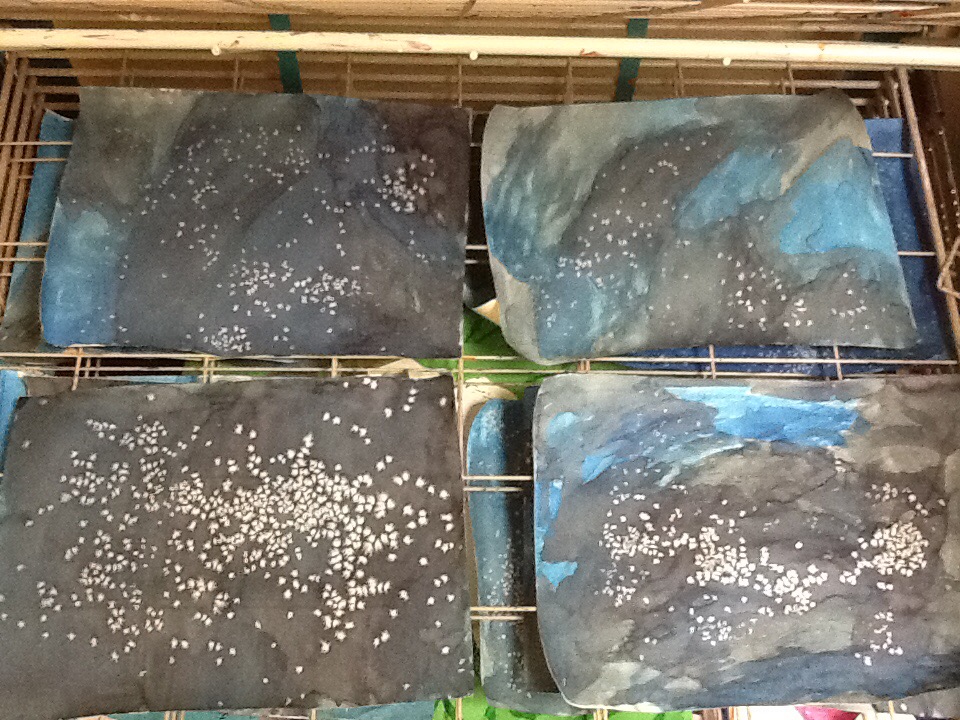
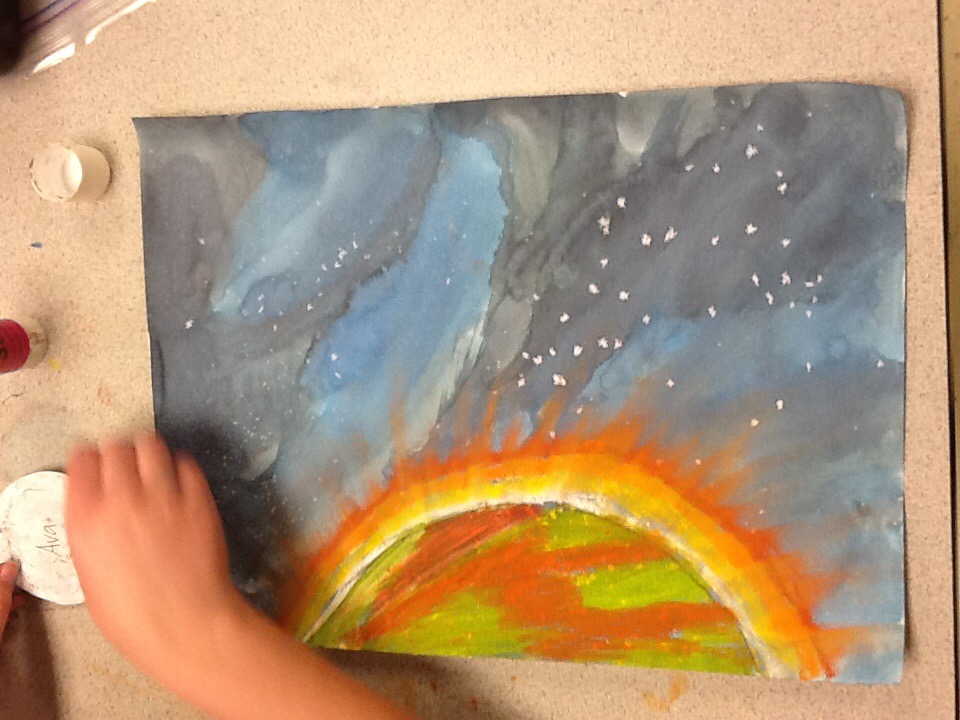
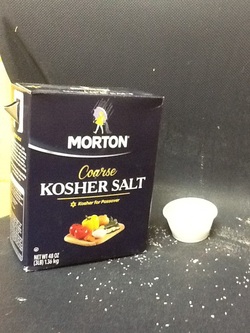 We started with the background of the piece, covering an 11"x 15" piece of watercolor paper with black and blue liquid watercolor. When finished, set the paper in the drying rack and sprinkle some salt on the wet painting. As it dries, the salt will absorb some of the water, leaving white speckles for the stars. | 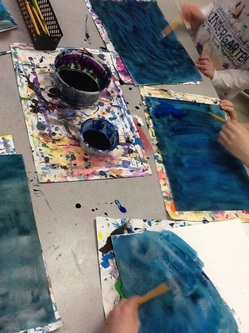
|
| 
|
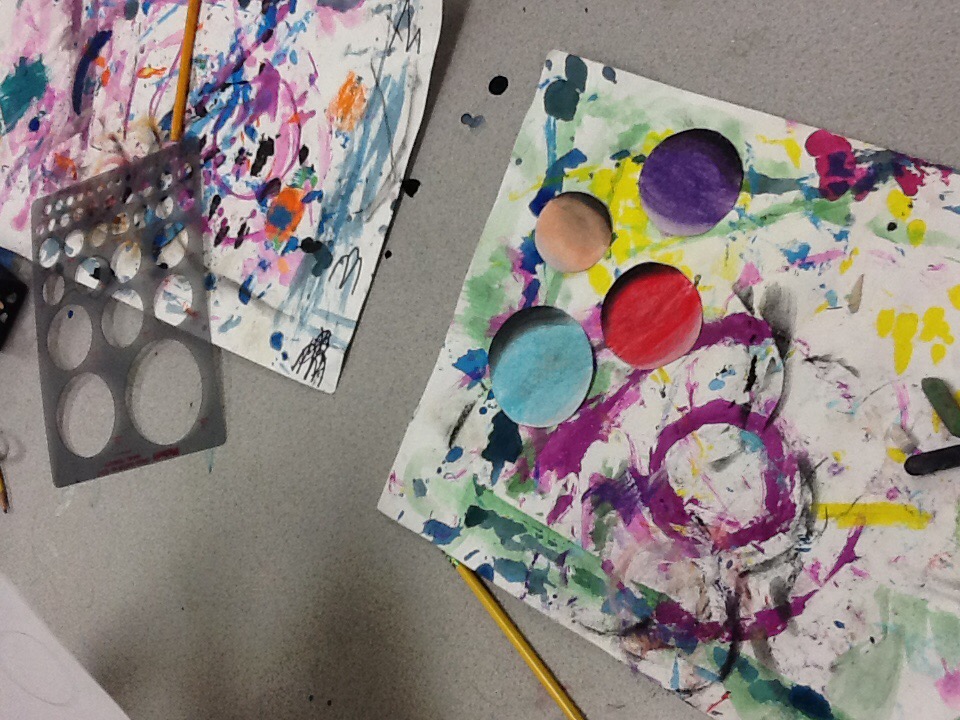
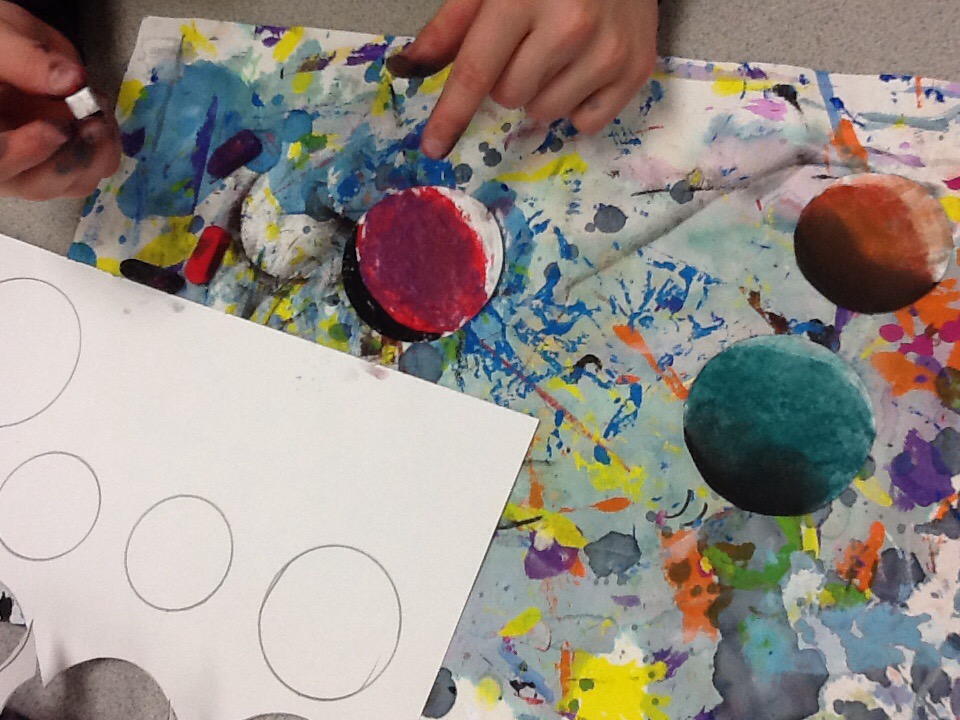
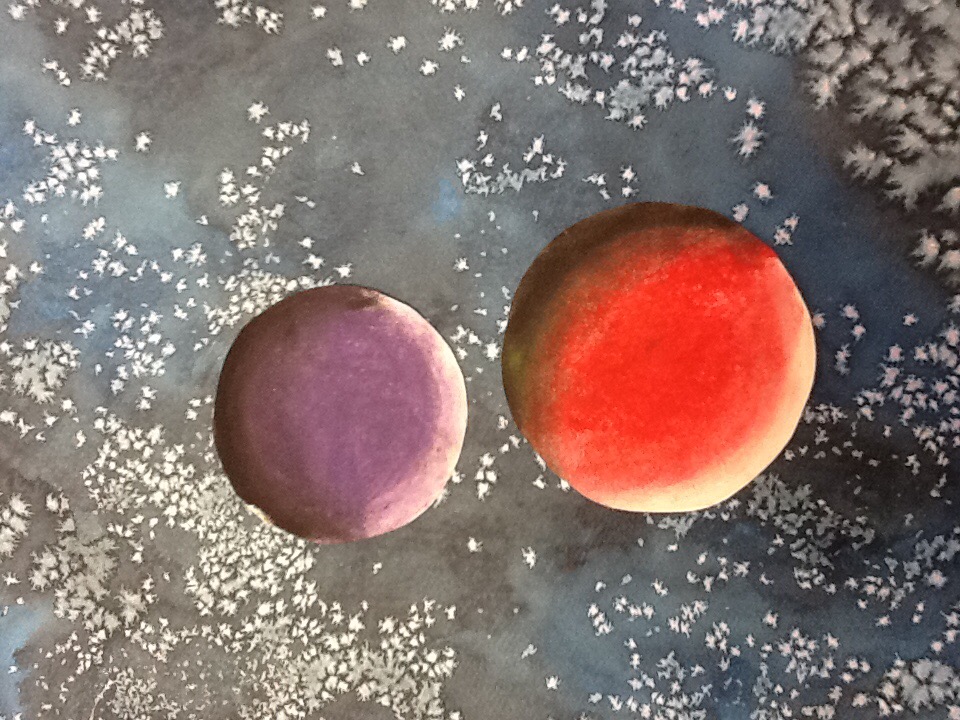
Then we got to work on the planets.They needed to make at least 4. I have circle templates that the students traced onto white drawing paper. We cut the circles out and then add the chalk pastel. Color in the circle with a color. One side of the circle needs a sliver of white and the opposite side needs a sliver of black. We carefully blended the white into the color and the black into the color, trying to make nice smooth transitions and value changes.
| 
|
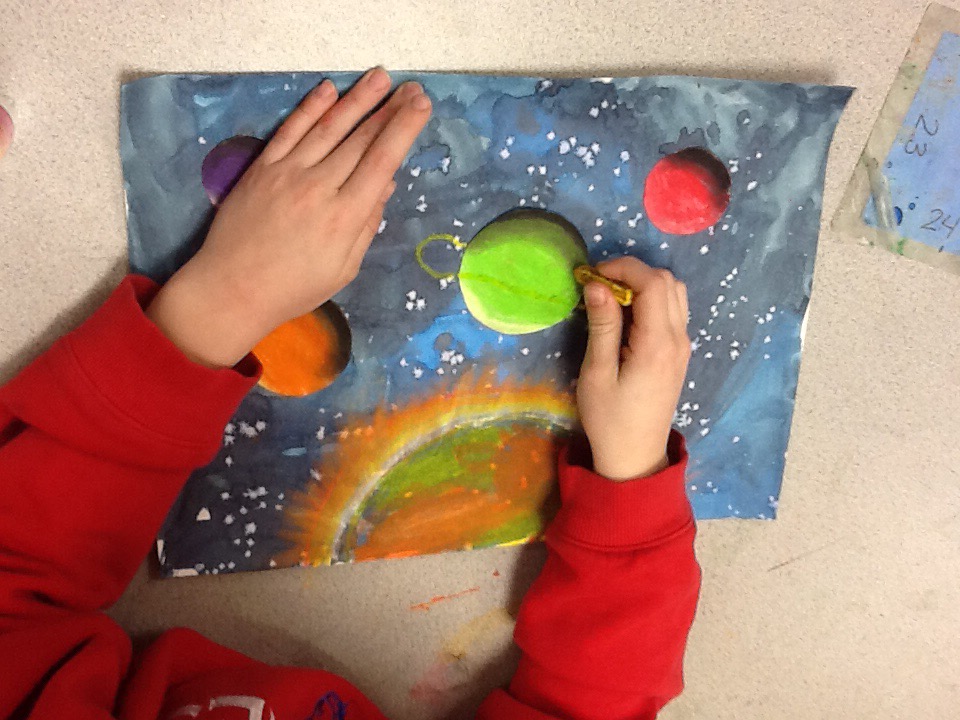
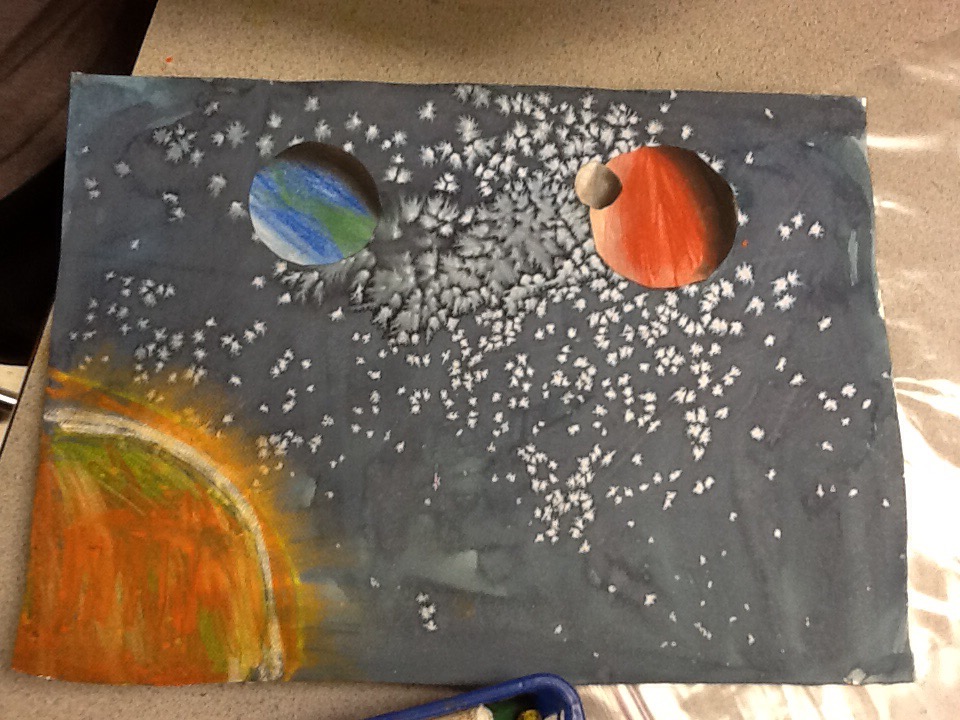
The following week we used a compass to draw a large sun and colored it in using oil pastels. The glowing rays of the sun were done with chalk again. Once the sun was complete we were able to arrange and glue our planets into place and add other details like rings if desired.
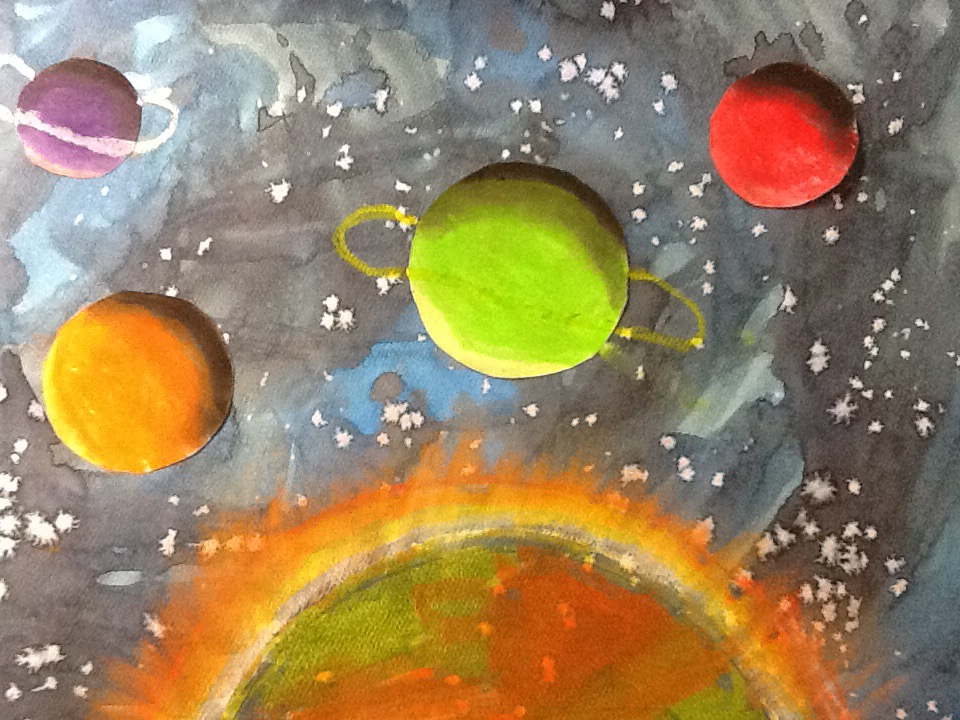
If you ask me, these pieces of work are out of this world! Check out others in our Artsonia Gallery.


 RSS Feed
