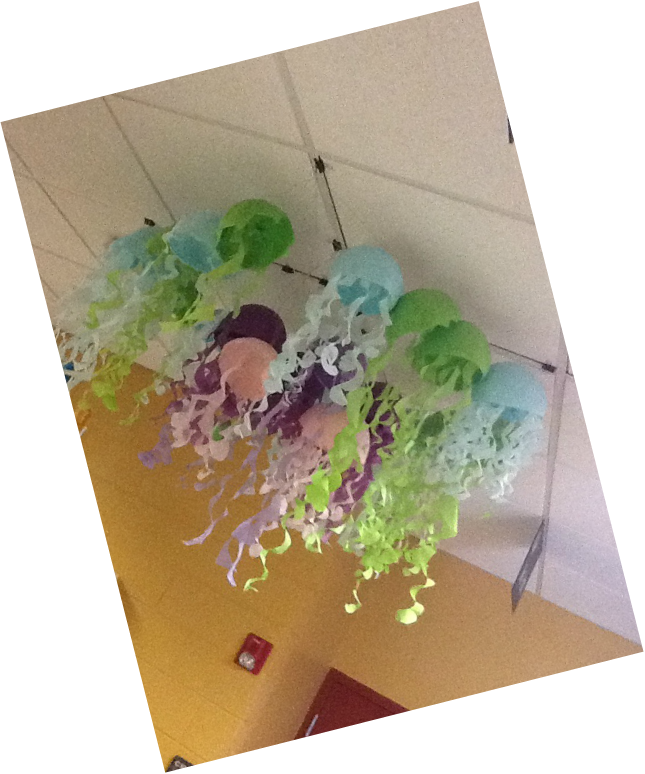
I had previously posted about the sea animals and fish that we were working on in 5th grade. Each class created a different creature. Here are the jellyfish that one of the classes created, hanging in the hallway outside my classroom.
Jellyfish
Materials: tissue paper, balloons, paper mache paste, paintbrushes, scissors, and glue stick
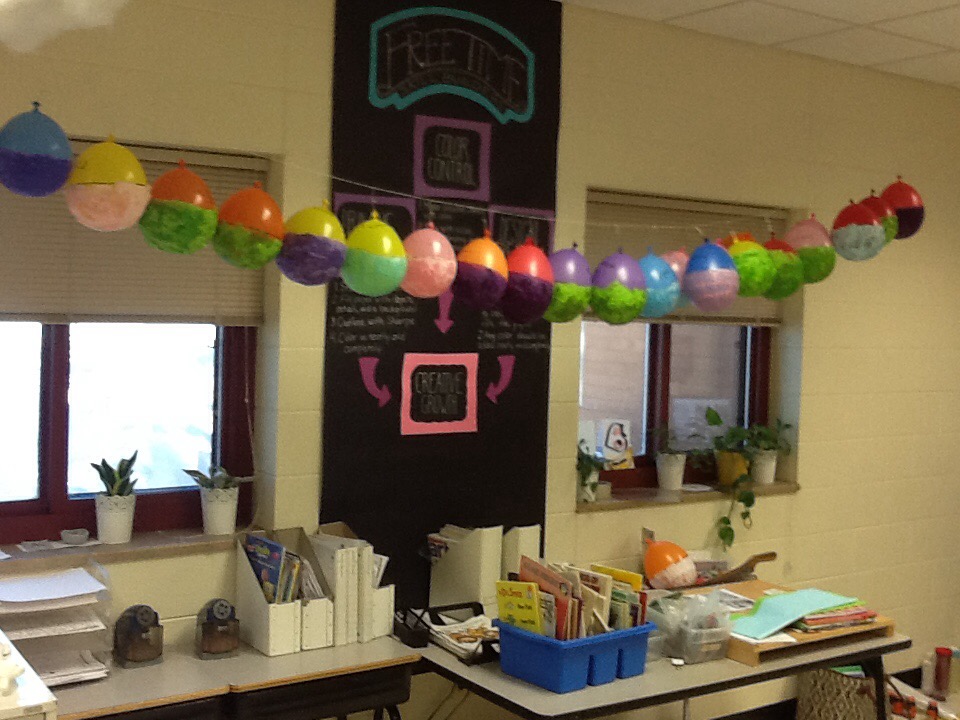 | 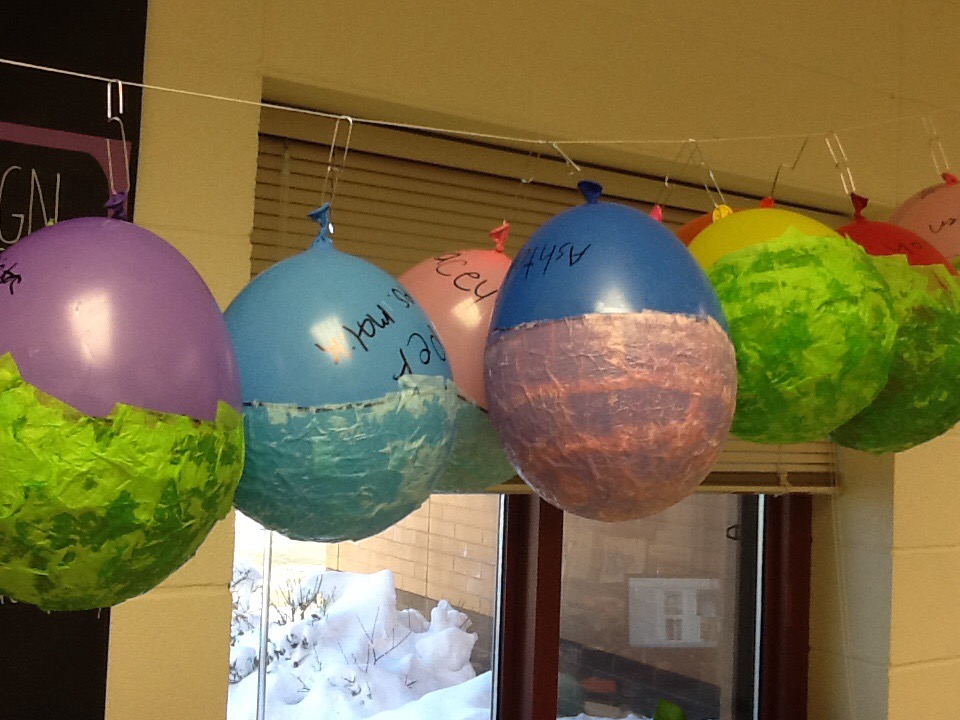 |
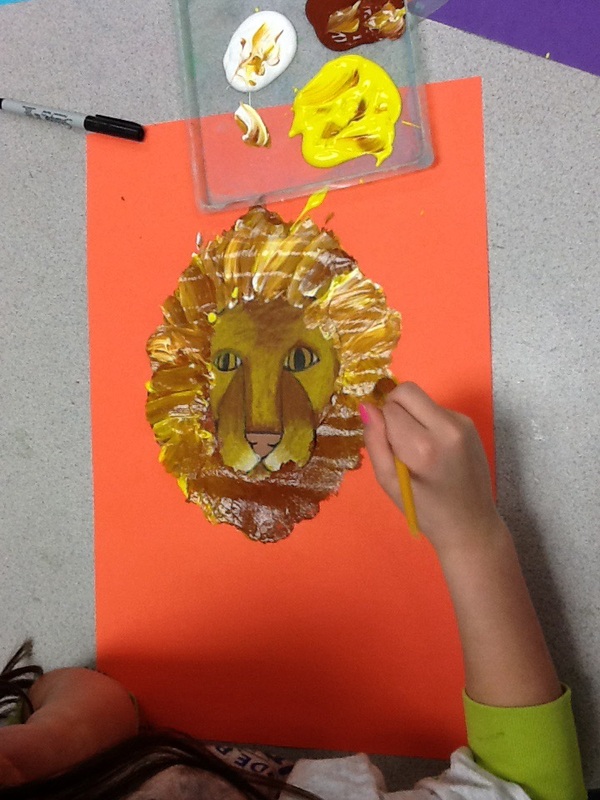
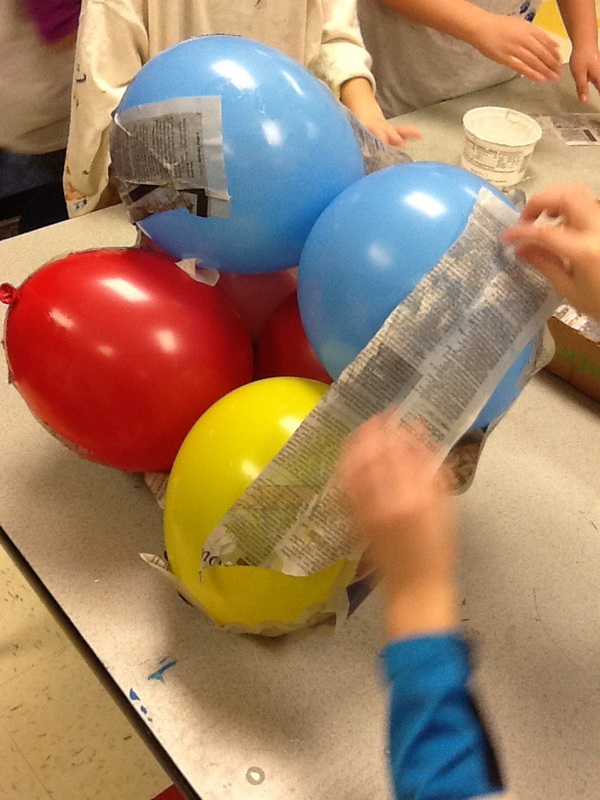
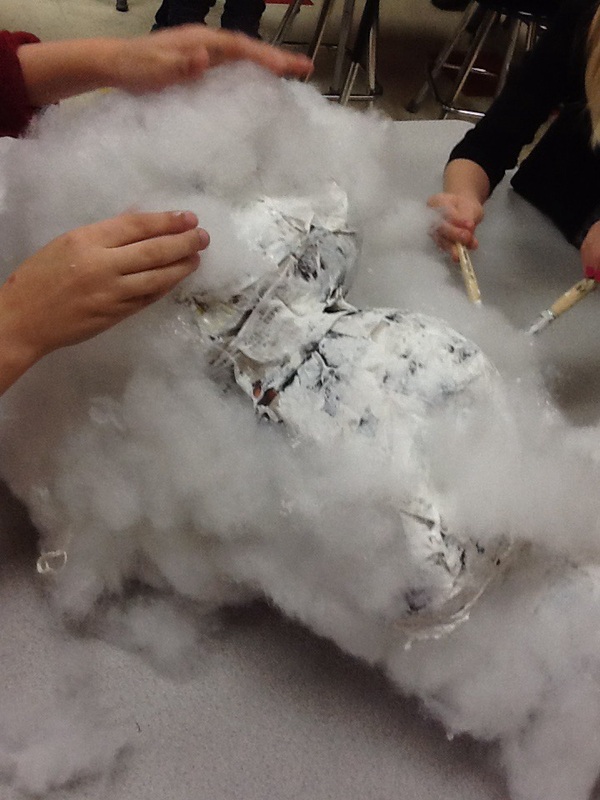
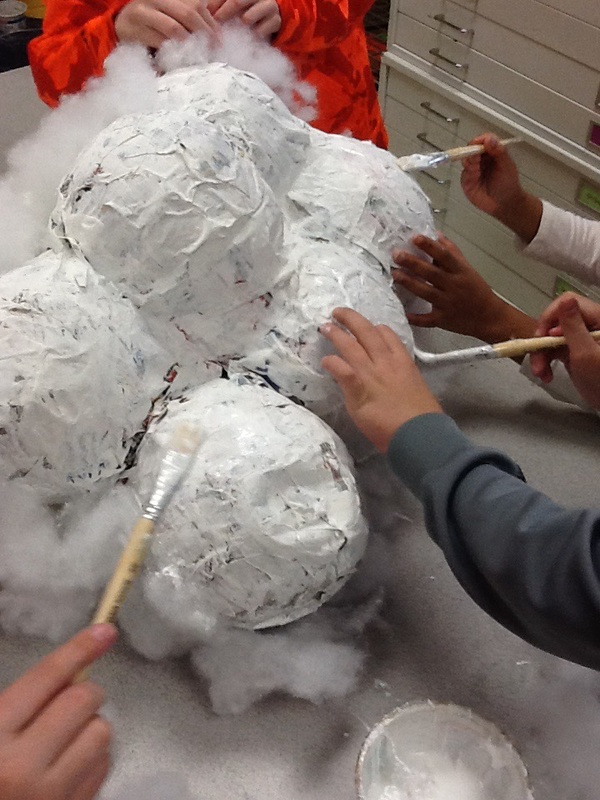
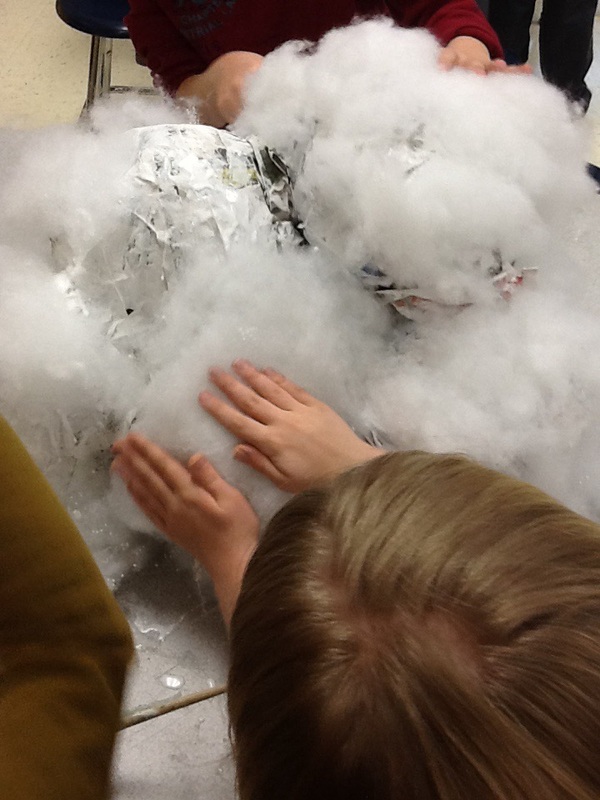
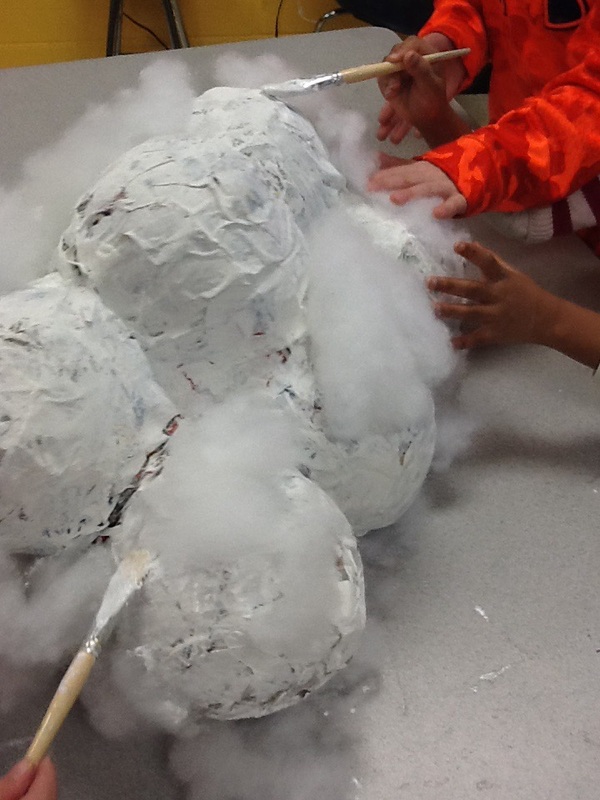
These were fun, simple, and colorful creations. We started with a balloon, pre-cut tissue paper squares, and paper mache paste. Using a Sharpie, draw a line around the balloon so you know where to stop adding tissue paper. Then, with the paintbrush, add a layer of paste to the top half of the balloon (the entire area above the line). Next add a layer of tissue paper squares to the paste and repeat the two layers again. 3-4 layers of tissue paper is probably good. The strength in the shape comes from the layers of tissue paper, not how much paste you put on. Finish with a layer of paste and then let it dry. They need a few hours to dray completely. The balloons in the pictures above were drying in my classroom.
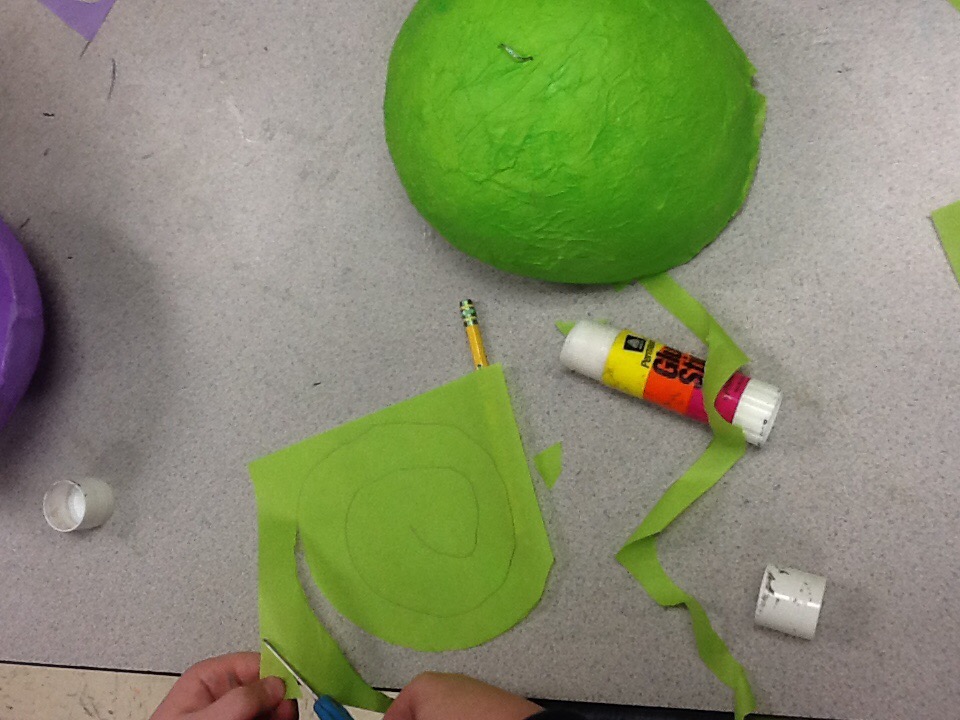 | 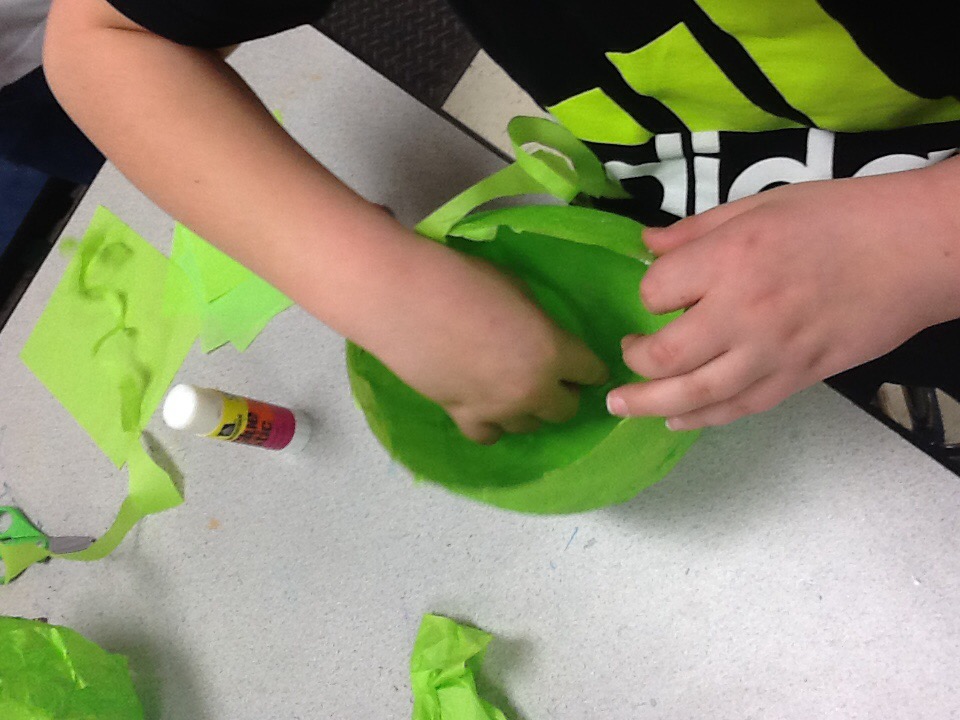 |
The following week, we added the tentacles. To create the tentacles, draw a spiral line and then just cut on the line. Glue sick was plenty strong enough to hold the tissue paper tentacles into place.
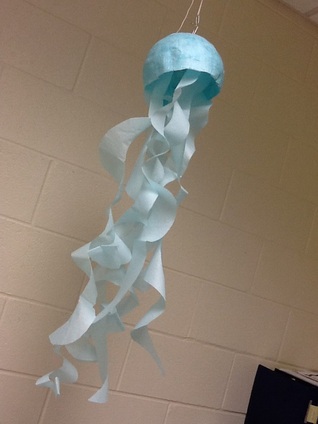
One hanging alone is pretty, but hanging them in a group in a hallway really made them standout.
Sea Horses
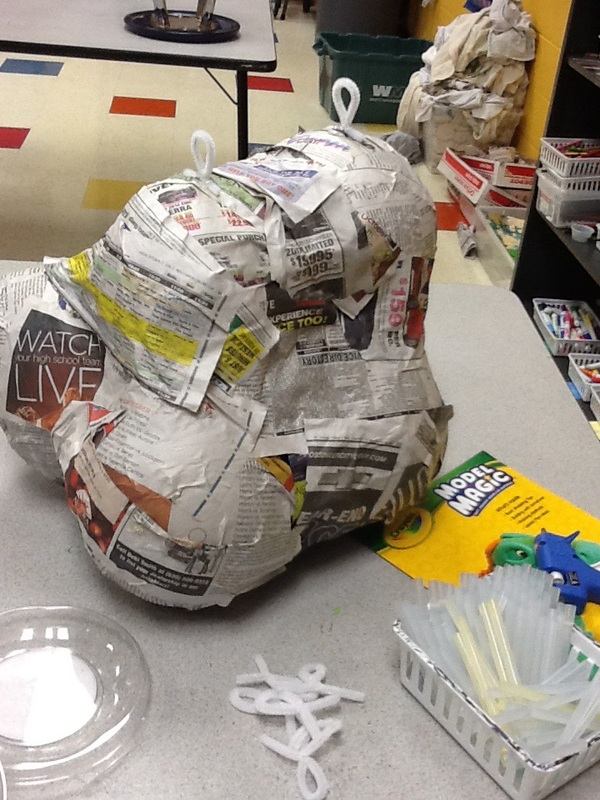
Materials: disposable water bottle, newspaper, clear tape, pipe cleaner, Model Magic, glue stick, tissue paper, and paper mache paste.
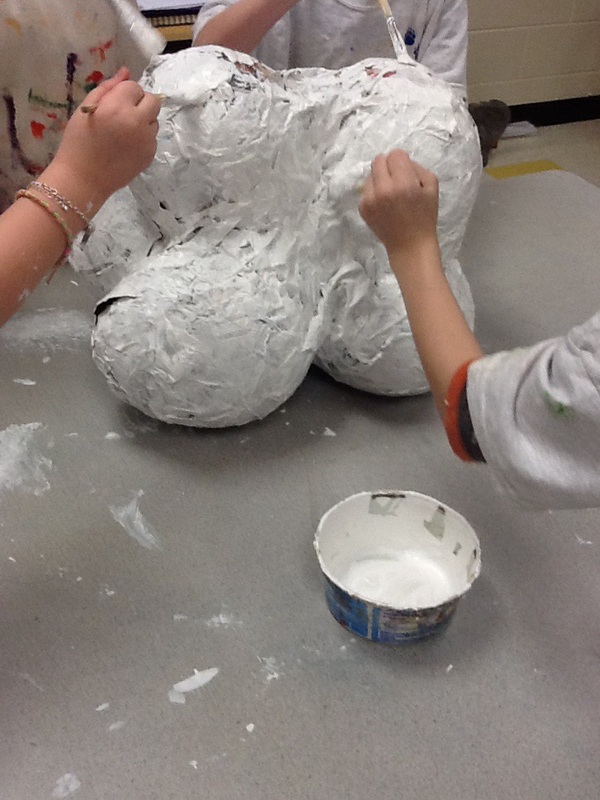
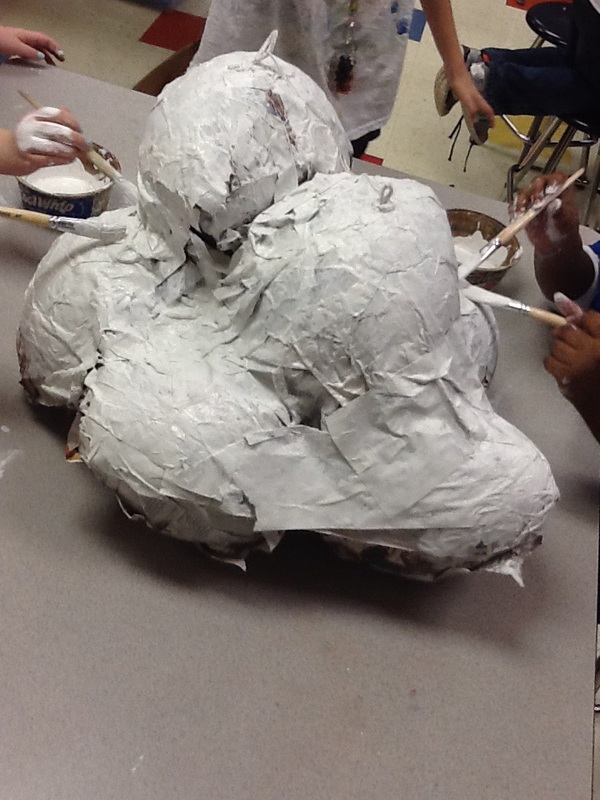
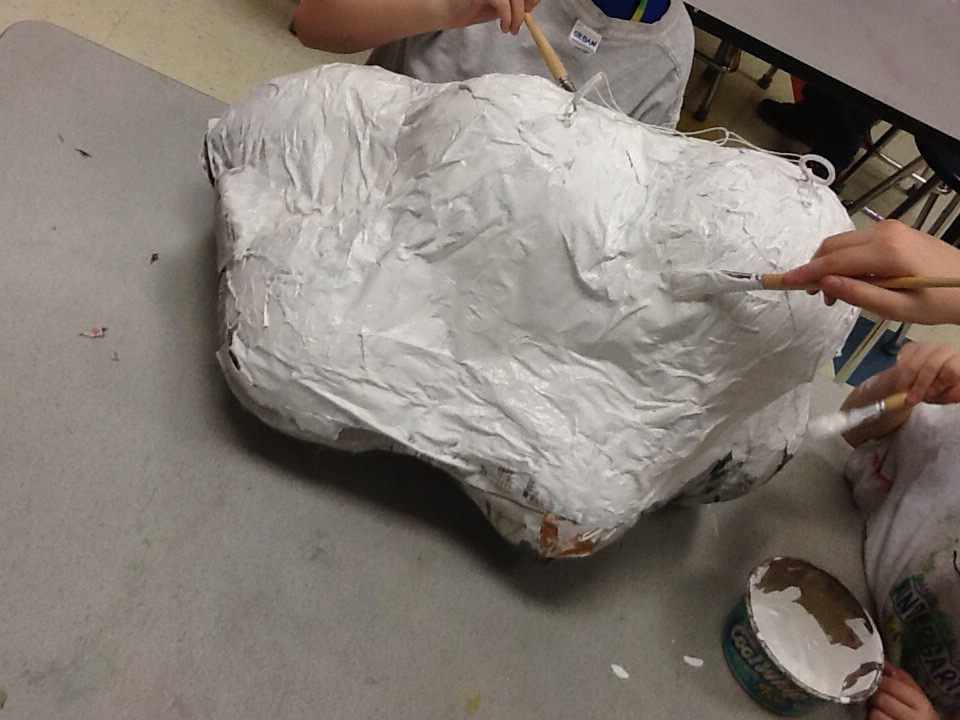
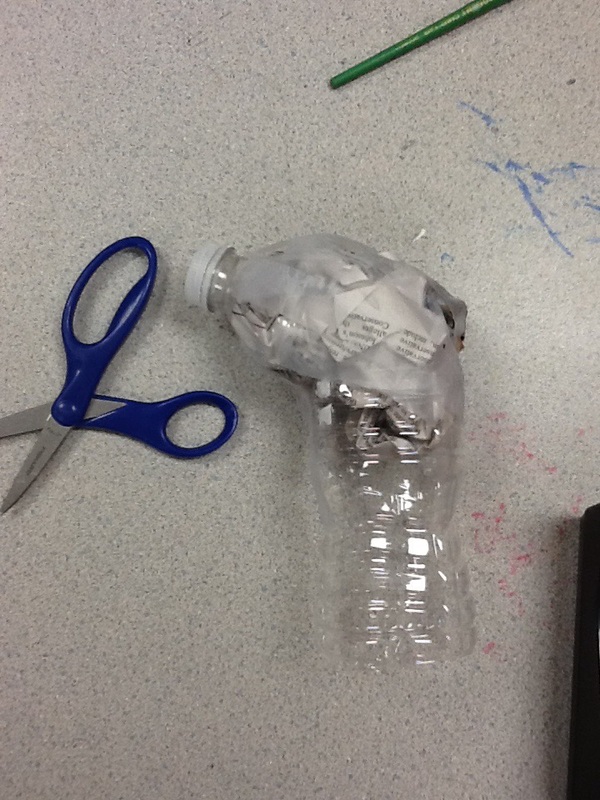 Cut off the bottom of the water bottle and cut around the top of the bottle (where it begins to narrow), leaving about an inch uncut. This way you can bend the top, making the head of the seahorse. Next make a fist size ball of newspaper and place it into the opening you created at the top of the water bottle. Tape the newspaper in place and cover all exposed newspaper with tape. We used Scotch tape out of the dispenser. 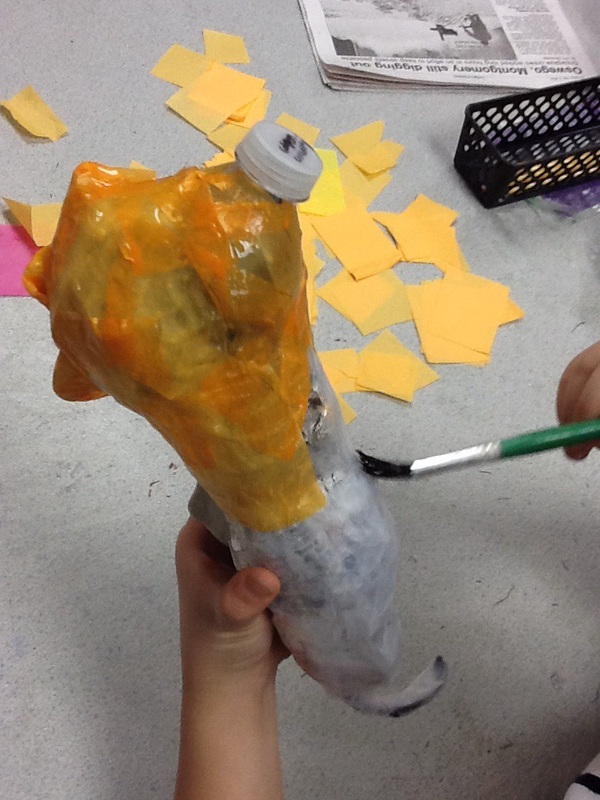 | 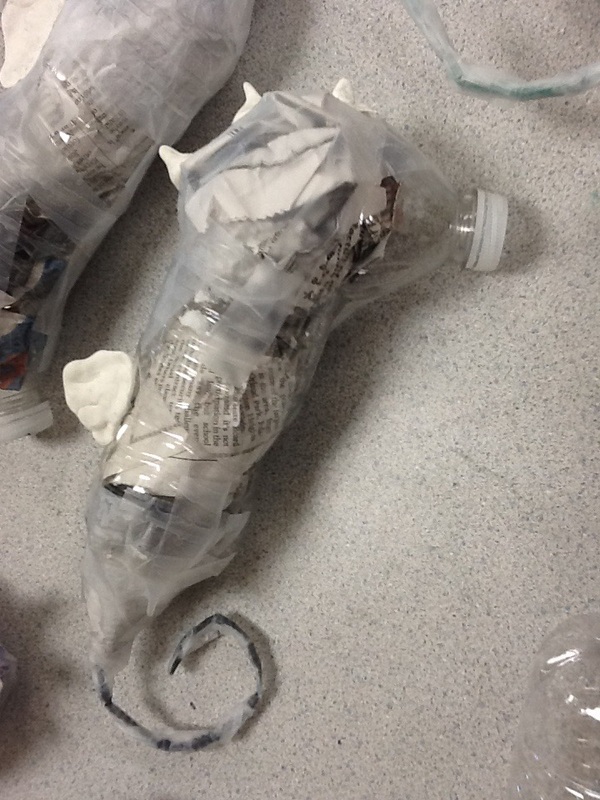 Roll up a cylinder of newspaper and put it into the bottom opening of the bottle. Twist the end of the newspaper that is sticky out of the bottle to narrow it. Tape a pipe cleaner to the end of the newspaper and coil the pipe cleaner so it looks like the tail of the sea horse. Cover all exposed newspaper and pipe cleaner with tape. The details on the head and back were made out of Model Magic and glued on with glue stick. 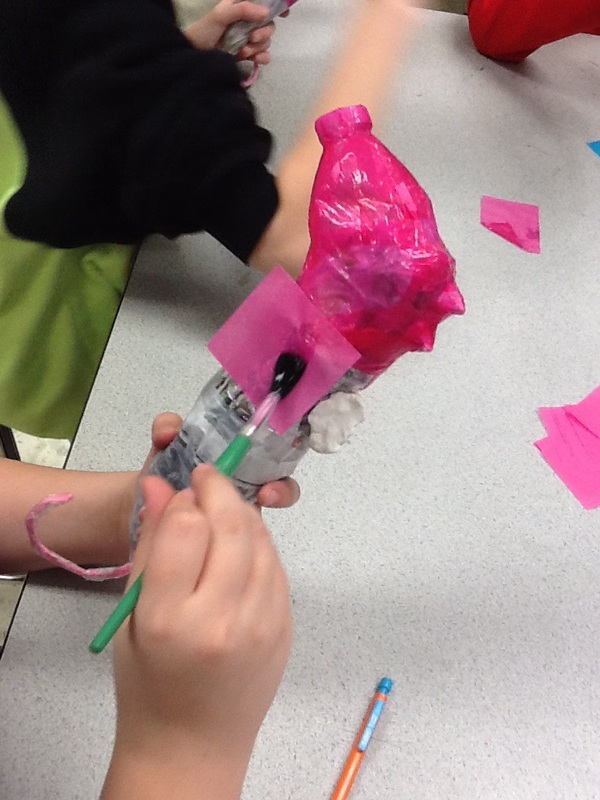 |
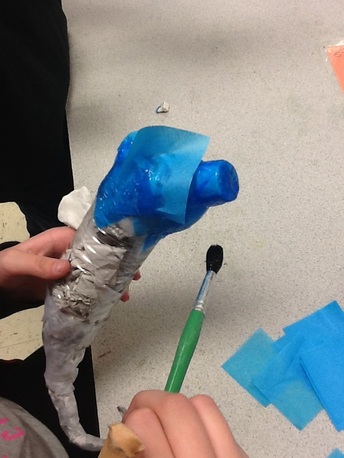 | 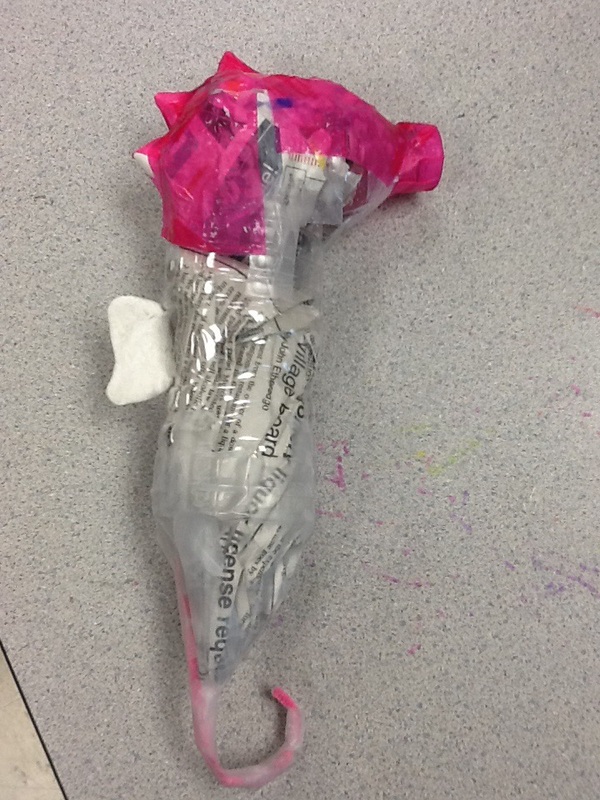 |
Next, add color to the sea horse, using tissue paper and paper mache paste. With the paintbrush, wet an area with the paste. Stick a tissue paper square onto the wet area and use the brush to make the tissue paper lay flat. This really works around even the most curved and bent areas. Unfortunately, I don't have a photo of the completely finished sea horse. Some students used more than one color of tissue paper and others just kept it one color. We stopped after the tissue paper. I thought about having the students add other details on top, but they all looked so colorful and beautiful as simple as they were so I had them stop. They look so nice hanging next to our group of jellyfish.


 RSS Feed
