|
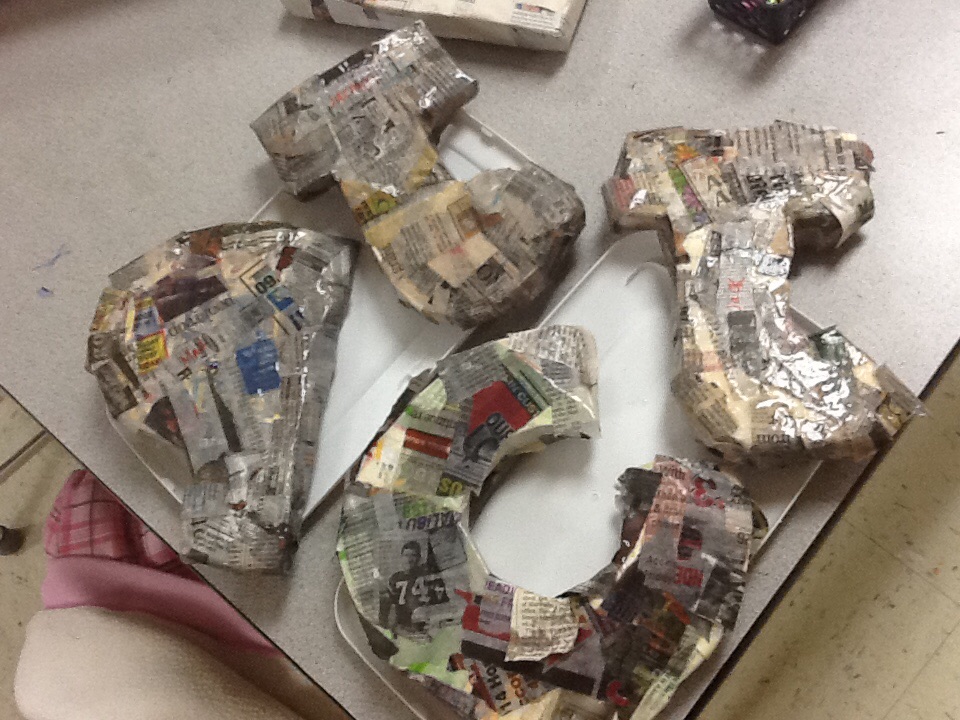
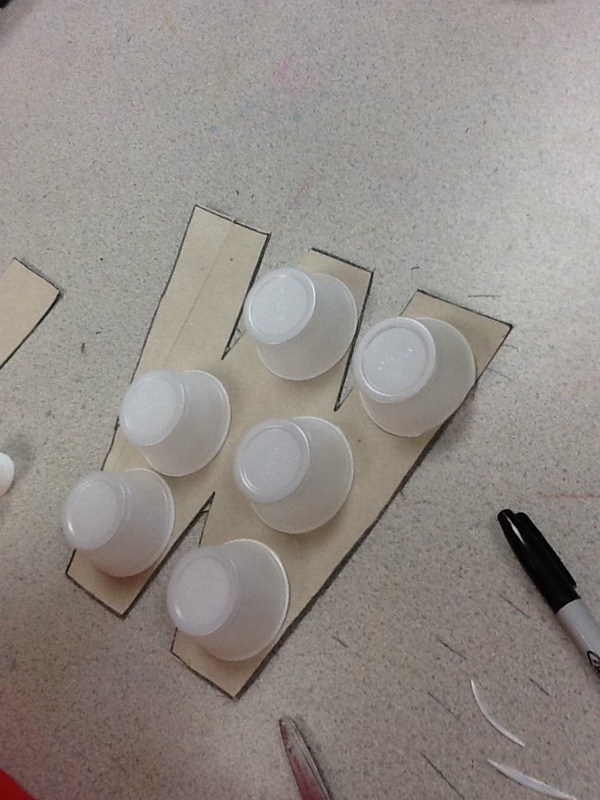
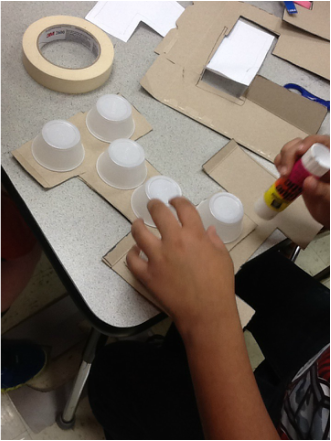
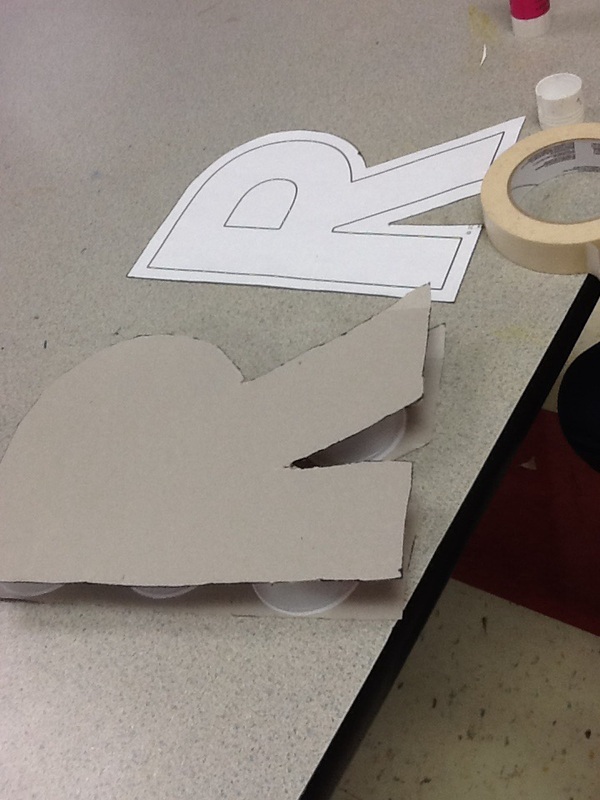
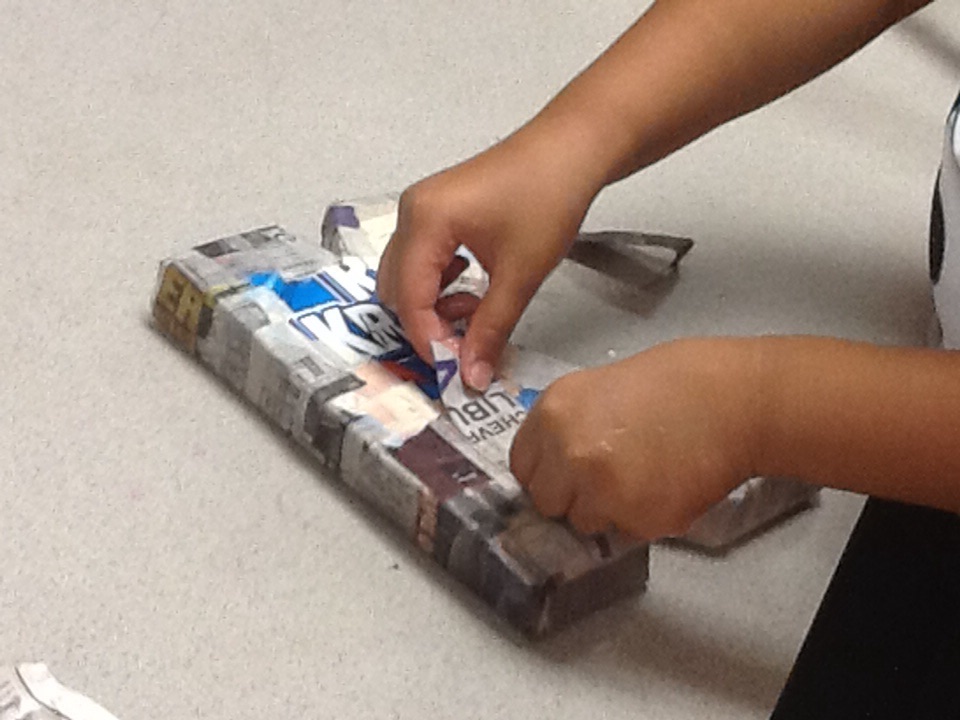
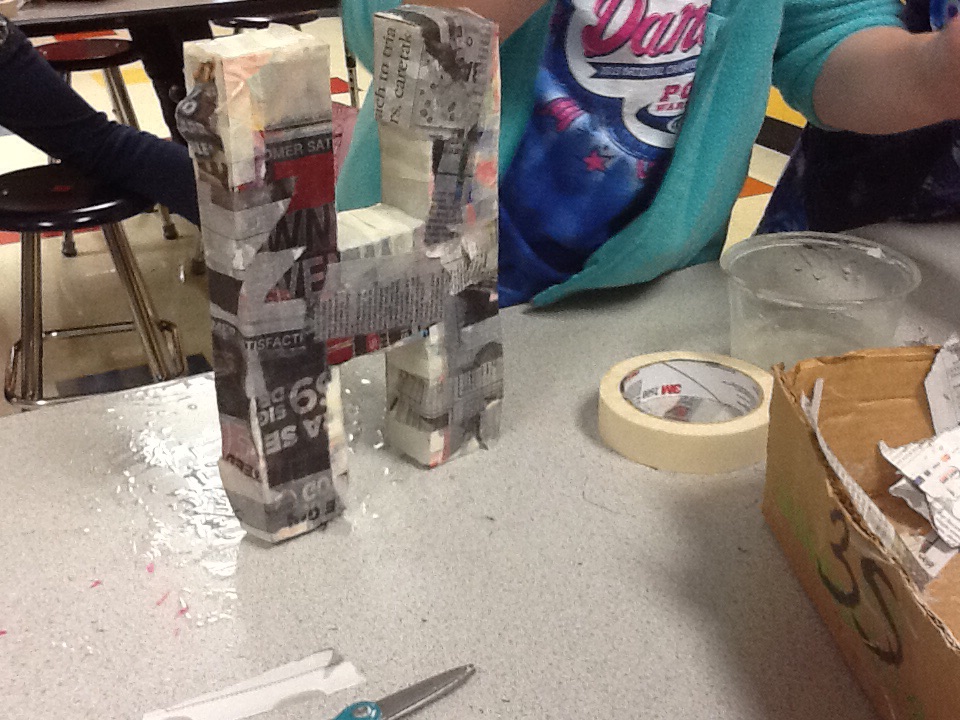
4th graders have been busy the past three weeks with a paper mache project. They are making a large, three dimensional letter. They chose to represent either their first or last name. Each student brought in a cereal box to use as the base for this project. We began by tracing a letter pattern onto the cereal box cardboard twice and then cut the letters out. To create the width of this three dimensional letter, we glued small plastic cups to one side of the letter and then glued the other letter on top.
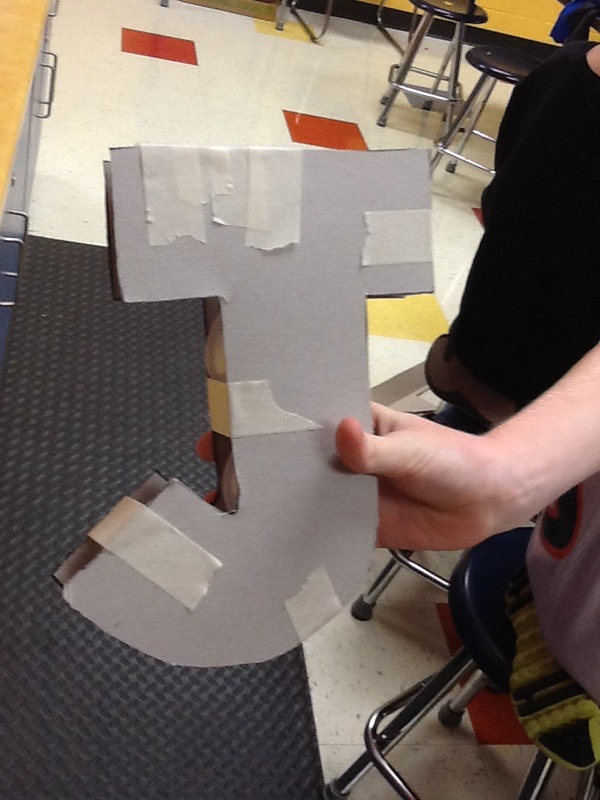
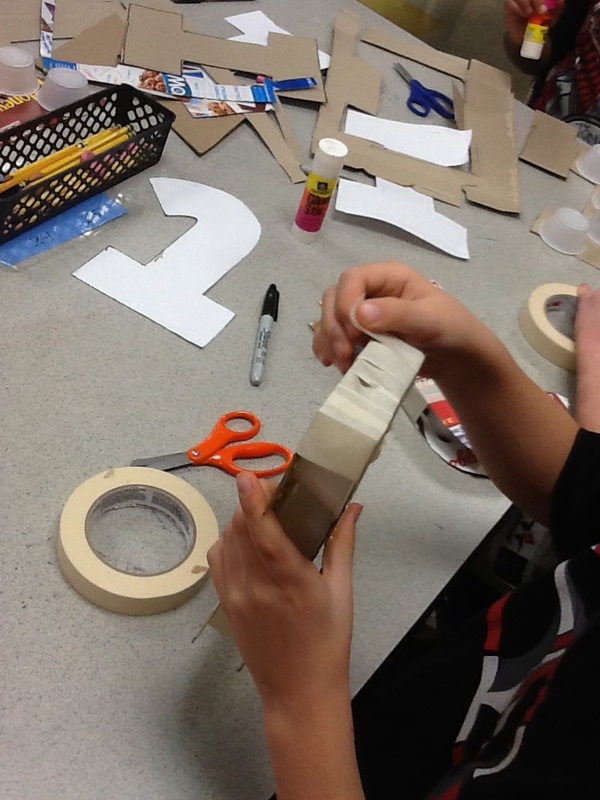
Next, the students added masking tape around the edges of the letter to add strength and keep the structure together, preparing it for paper mache.
Last week, many classes began the paper mache process and added a layer of newspaper pieces covered in paste. The paste we use is School Smart Art Paste and it is awesome. I can mix up a 4 gallon batch with one box of this stuff. It's non-toxic and easy to store so I can use it for weeks at a time. Most of the students loved dipping their fingers into the ooey-gooey paste. However, there were a couple that were repulsed by it.
This week, we began to add our last layer, using white paper towel to cover the print on the newspaper. Hopefully, this step will help us avoid having to put layers and layers of paint on the letter to cover the print. 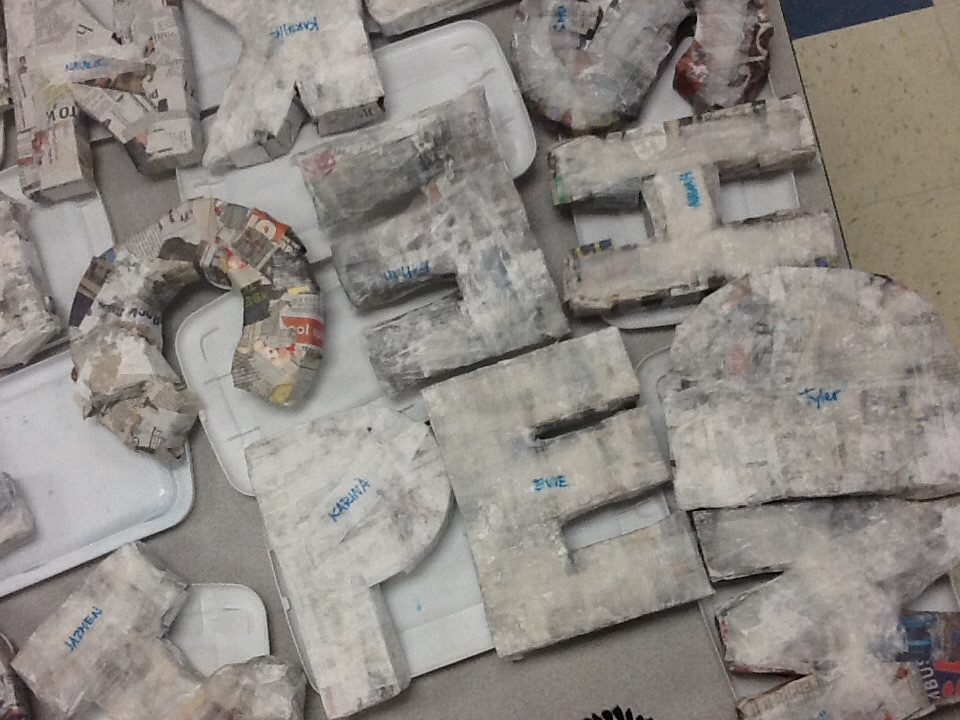
I really like how this project is turning out. So many students really got a hang of the process and were able to create a nice, smooth and even surface with the paper mache. It's not as easy as it looks! Great job 4th grade! We have one more week of paper mache and then we will begin to plan how to paint our letters.
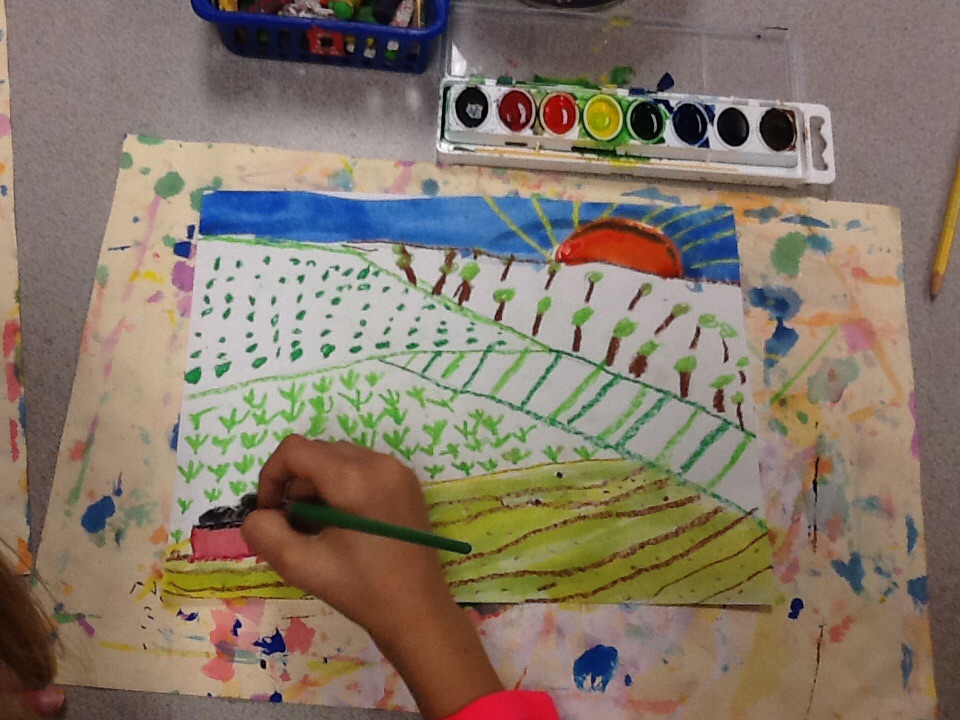
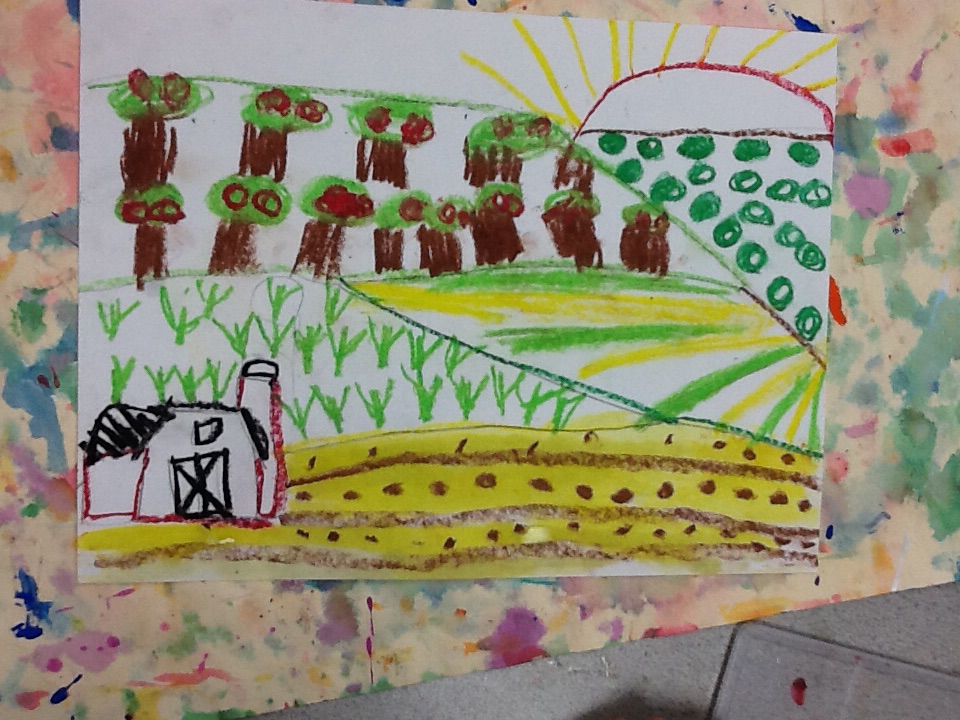
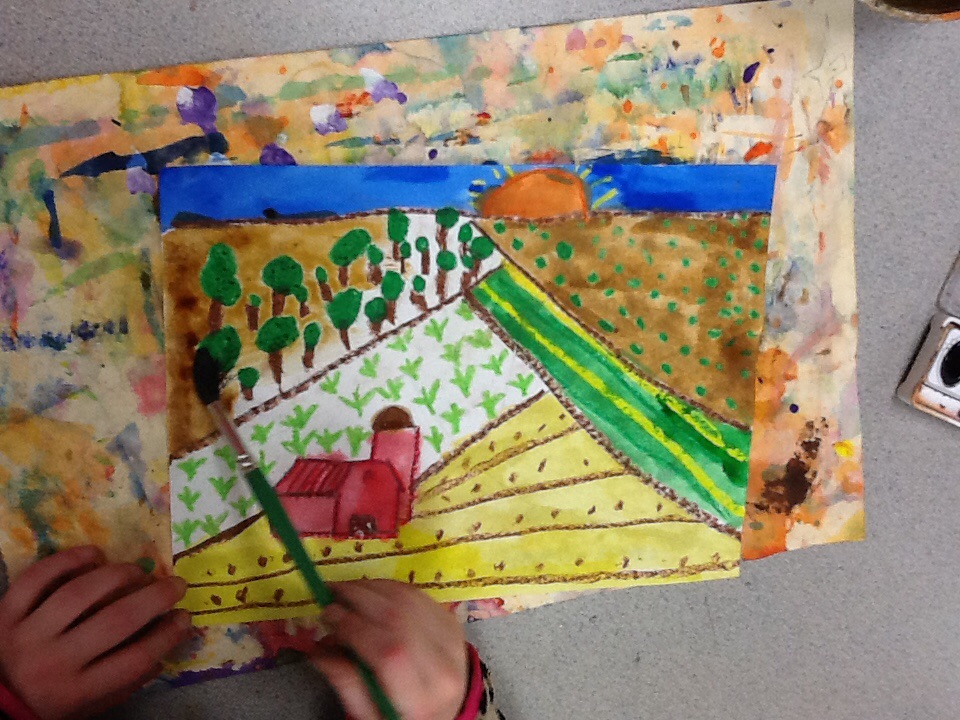
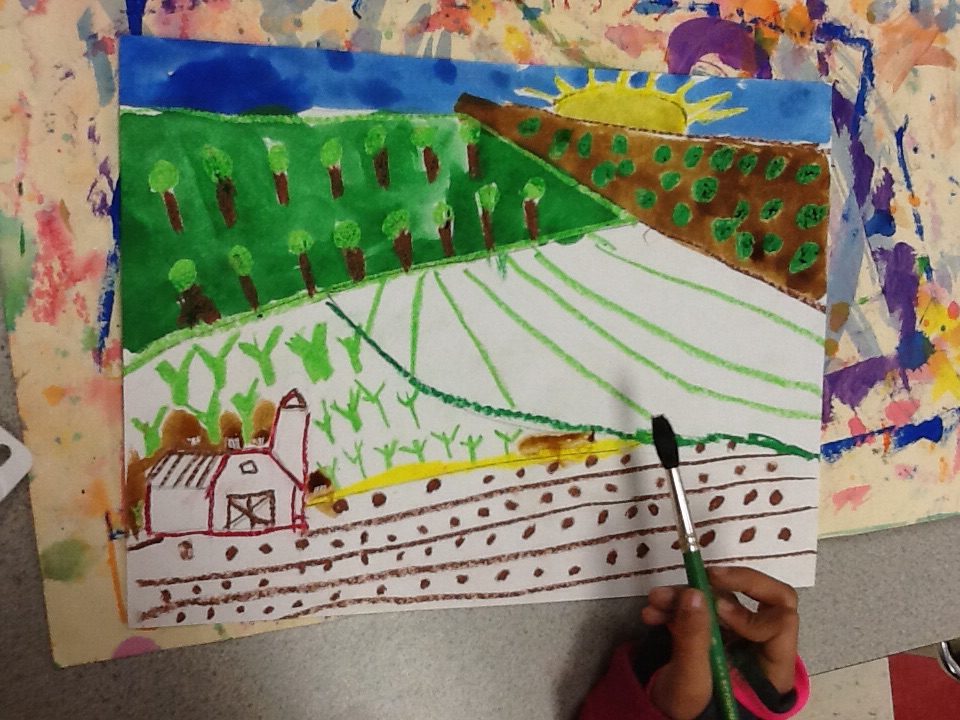
In second grade we have been discussing the artist, Grant Wood. We looked at many of Wood's landscape paintings and determined that a landscape is a picture of the outdoors. Wood paints the farmland that he grew up around in Iowa. The open fields that he paints contains many different textures. We discussed how he creates these textures by using repetition and pattern. 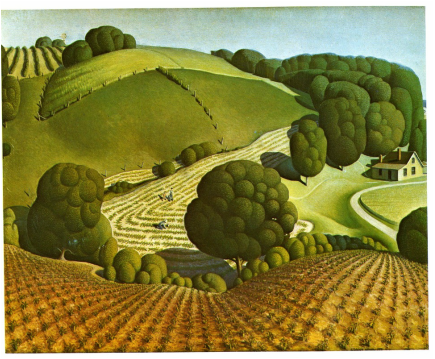 As we began our own farm landscapes, we focused on using pattern to create different textures in our fields. We wanted the land to be large and fill our paper so we drew our horizon line (where the sky and the ground touch) close to the top of the paper.
First, we started with pencil and the students followed along with me as I drew a barn. Then we drew our horizon line and divided up the land into different fields. We traced everything and drew in our textures with oil pastel. The last step of our project was to paint over everything with watercolors.
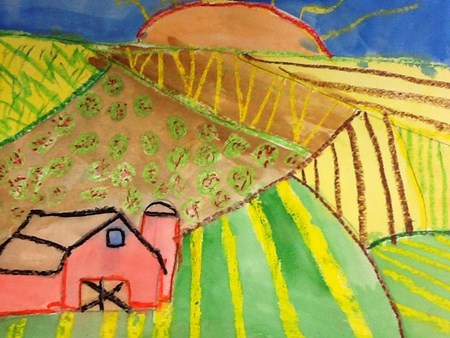 These paintings turned out beautiful. You can see more of the finished products on our Artsonia Gallery. Next, we will look at Grant Wood's very famous portrait, American Gothic.
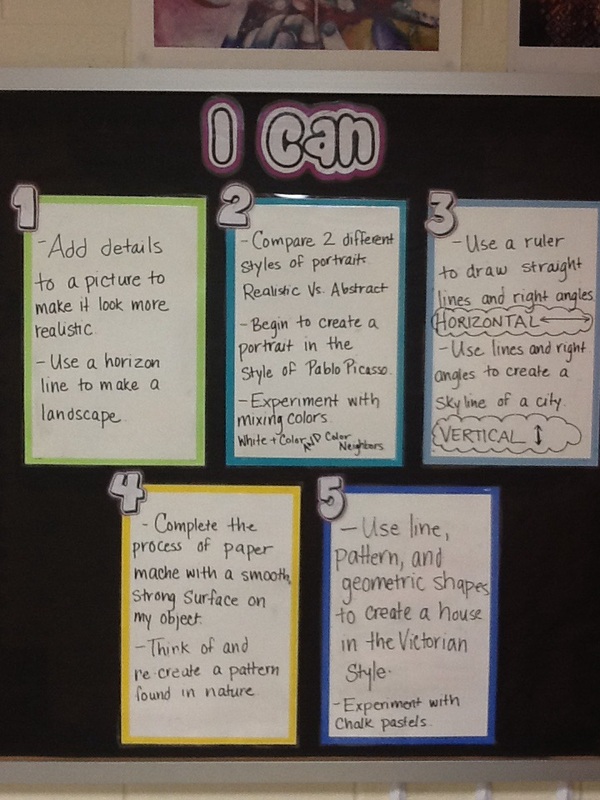
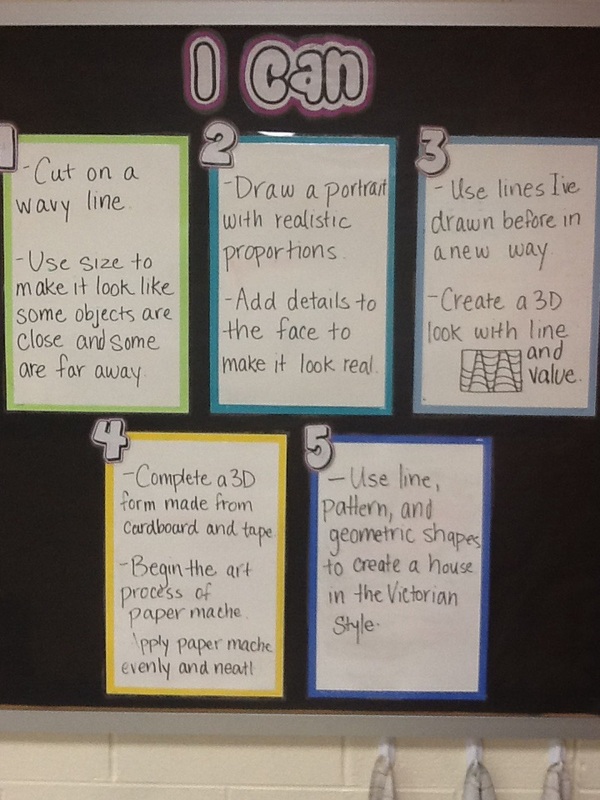
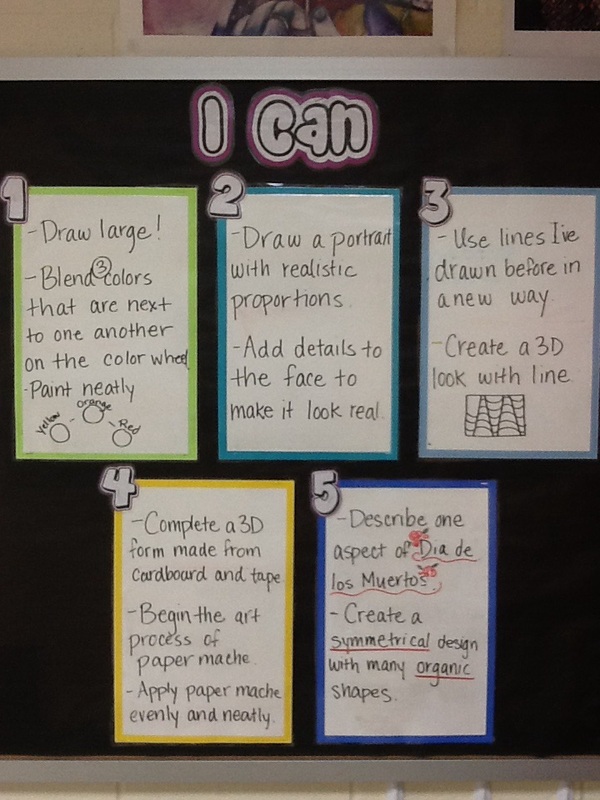
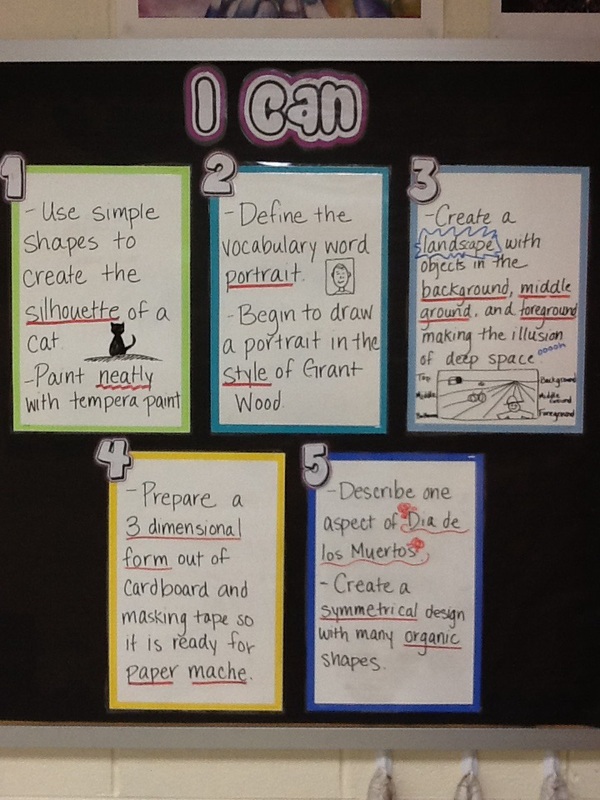 This is my "I Can" board. On this board I write statements that help students understand what the objective, or focus will be for the day. I tell the students, after our lesson and practice throughout class time they can do these things now. I hope that this helps to narrow my students' focus and help them understand what skills and knowledge I am trying to teach them. Each week I will post a photo of the "I Can" board so you can see what we are working on as well. 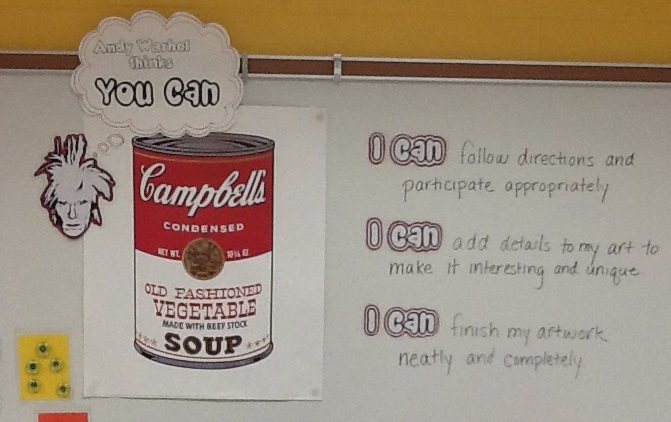 I also have these "I Can" statements posted at the back of my room. These never change. I expect that every time students come to art class they can demonstrate these statements.
|
Grande Park
|

 RSS Feed
