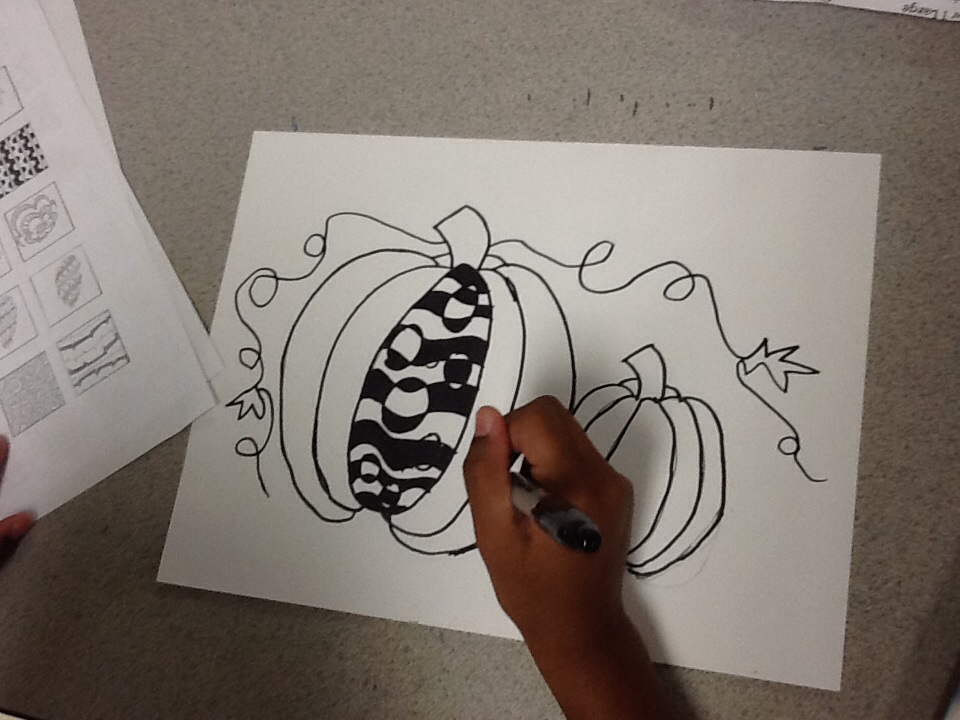
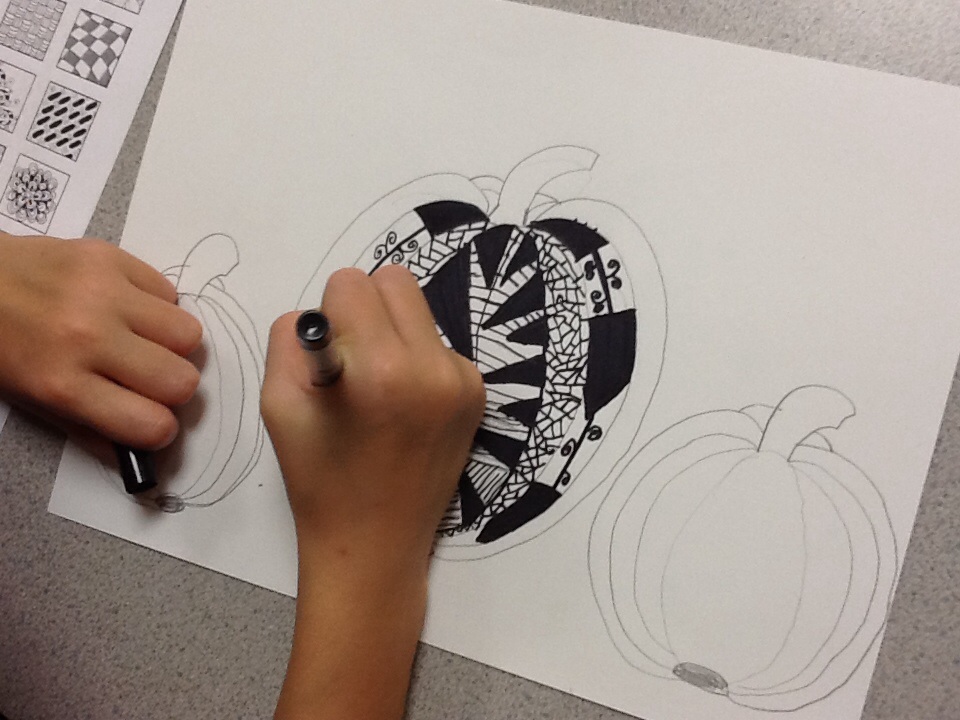
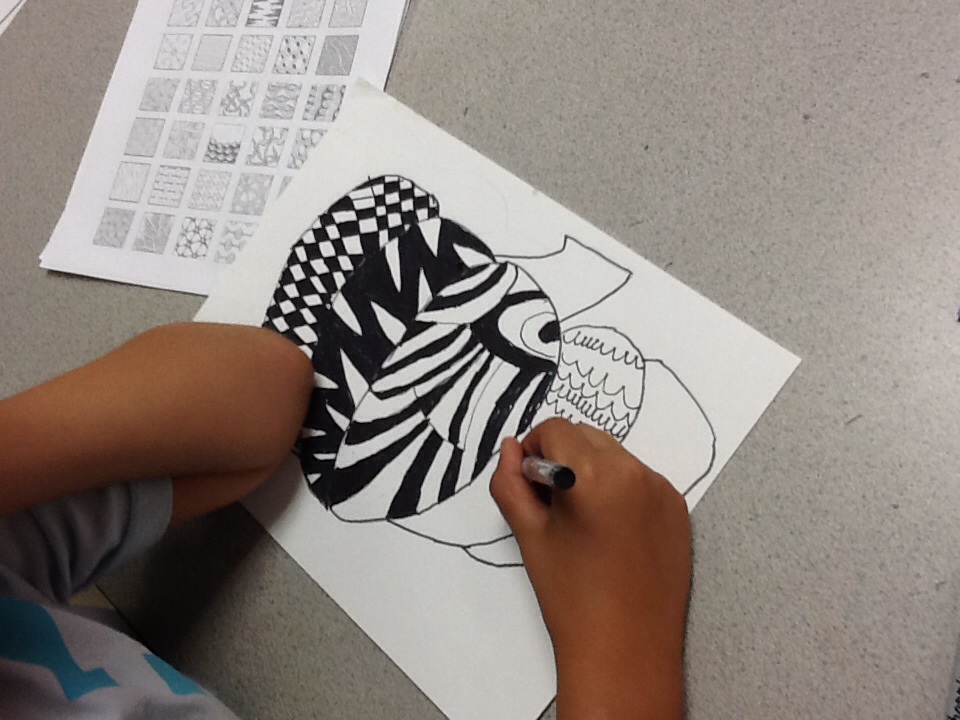
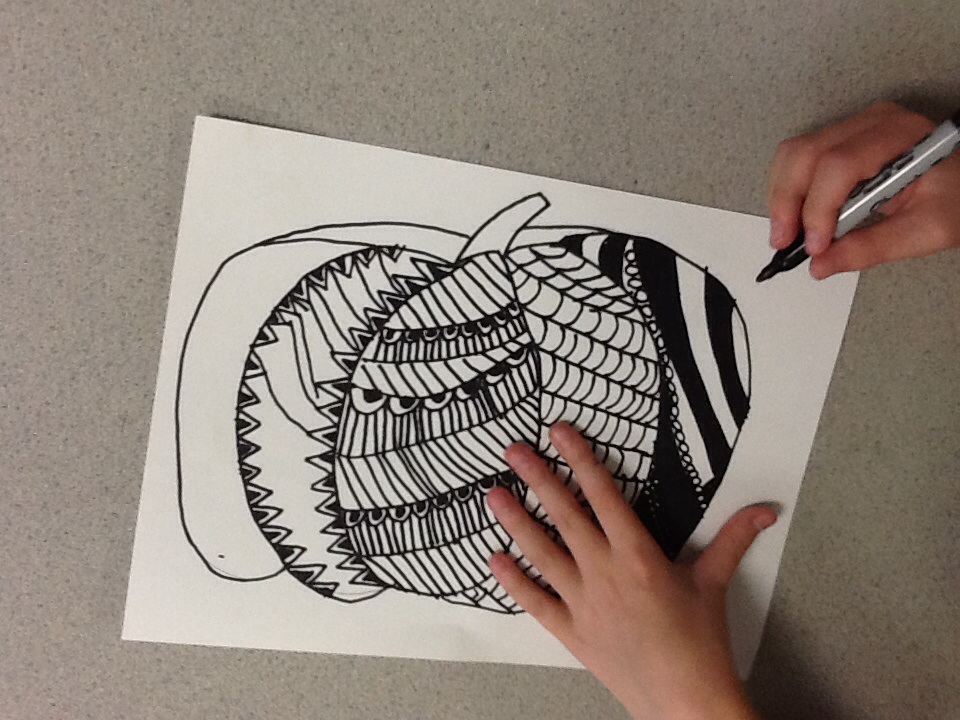
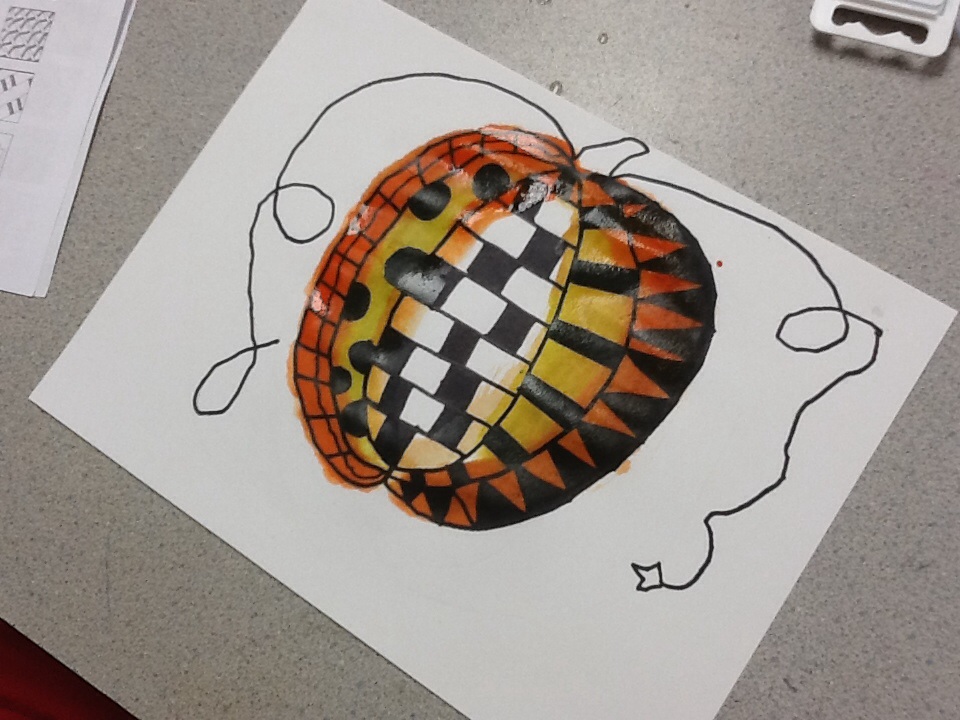
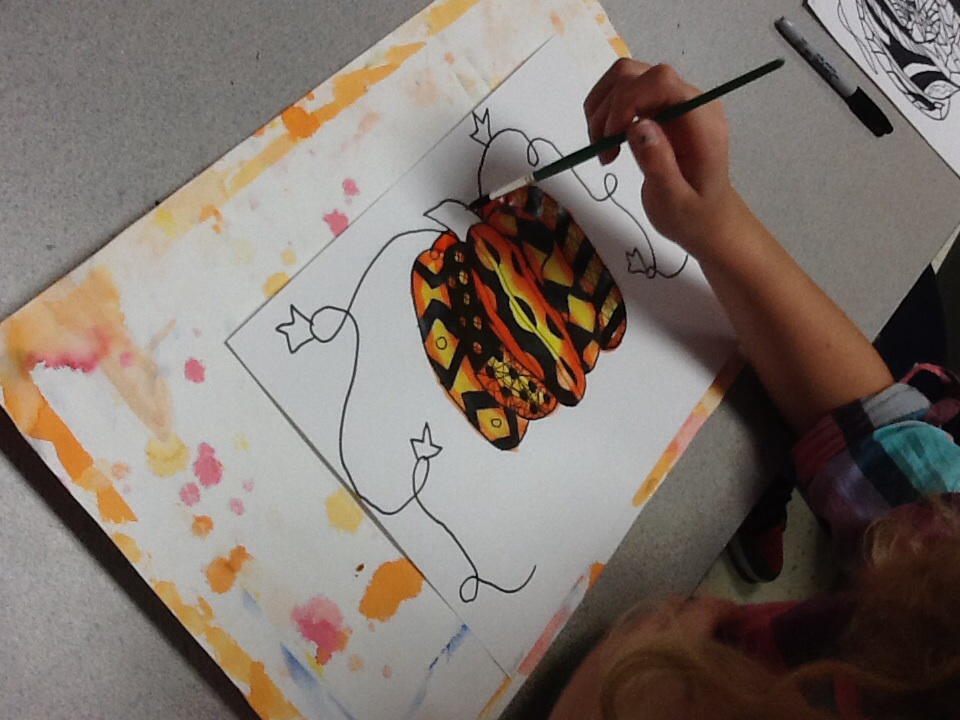
We are having fun with fall in the art room. The fourth graders are drawing pumpkins and filling them with a variety of complex patterns. We began by drawing our pumpkins on 9"x12" drawing paper and then tracing them with a black Sharpie. Next we discussed how we can turn simple patterns into more complex designs by adding 1 or 2 elements to them. For example, in the photo below and on the left, the student started with repeated wavy lines (a simple pattern), then drew circles on top of the lines & chose to color in some areas black and leave other areas white. Adding these elements turned the simple line pattern into a complex pattern.
| 
|
| 
|
We worked with one of my favorite materials, black Sharpies. Sharpies create such nice lines and the ink really saturates the paper, making the contrast of black and white visually appealing.

| 
|
To add a pop of color we painted on top of our finished designs with watercolor paints. Similar to my 1st grade pumpkin project, I taught the fourth graders how to add dimension to their pumpkin by outlining each section of the pumpkin with orange and then adding yellow to the center of each section, blending the two colors together with the brush where they touch. The black ink will not bleed, because Sharpie markers have permanent ink.
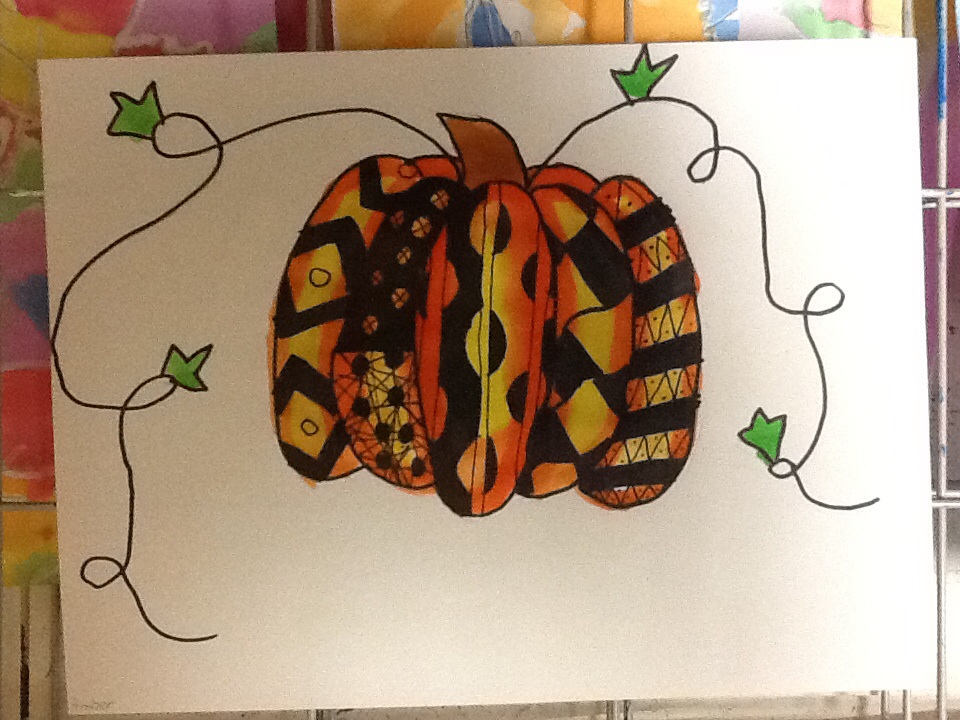
I thought I would like these pumpkins just black and white, but the color really has a striking effect!
 RSS Feed
